A couple of weeks ago I purchased two lots of built white metal kits from Fleabay and was very
pleased at the price. When they arrived I decided to strip them in
Caustic Soda and hot water (Outside I may add) If you have not
used Caustic Soda please do take care...It can be nasty if you do not
treat it with RESPECT.. And rinse thoroughly in cold water...
Any way, After the paint was removed I repeated the process once
again which freed the glue joints and I was able to dismantle the models and dress the parts and
start to rebuild the models again...Here follows the before and after
piccy's
After the Caustic Bath...
This is Batch one...
This is after a rebuild and I put my mark on them...The Exhaust pipes where made from Brass rod and Brass tube...
This was the second Batch...
This is after. Yes I know the horses are to be painted and I have some
touching up to do on the wheels, But at least it gives the idea?
The above photo is as I bought it last year, Pre-owned...I was not happy
how the cab sat resting on the front wheels...So I carefully split down
the model a with a bit of shimming here and there and new windows and
glazing bars I came up with the next photo...
I think the Fordson looks better with the orange steels, and of course my home made exhaust pipe?
I must admit I feel quite pleased with that...
I hope you enjoy my pottering's
Tuesday, 27 May 2014
Tuesday, 22 April 2014
Lambton Cab J94
This is my first attempt at brass modeling as such, I think I should
have started with something simple (I thought this was) But we all have
to learn? It has however turned out better than I thought, although far
from perfect. Modeling is a learning curve.
The far side of the cab does not sit flush to the foot plate. As long as I view it from this side, I don't see it. Next time RT Models is at a show I think I will get another cab fret and with the pit falls from this first effort, I think I can only improve...
At one point when the cab fell to the floor, I thought of replacing the original cab, but the I thought 'nothing ventured and that'
The cab looks a bit knocked about after it's fall. You should have seen it when I picked it up!!!
I have got a few nuts of Yorkshire coal to crush and fill the bunker. And then we'll see what next
The far side of the cab does not sit flush to the foot plate. As long as I view it from this side, I don't see it. Next time RT Models is at a show I think I will get another cab fret and with the pit falls from this first effort, I think I can only improve...
At one point when the cab fell to the floor, I thought of replacing the original cab, but the I thought 'nothing ventured and that'
The cab looks a bit knocked about after it's fall. You should have seen it when I picked it up!!!
I have got a few nuts of Yorkshire coal to crush and fill the bunker. And then we'll see what next
Monday, 21 April 2014
Easter Weekend, In the slow lane...
I have been doing some pottering in my den doing a few little jobs that I have been wanting to do for a while.
My last J94 gets it's nameplate.
'Vulcan' pays a visit sporting it's New brass nameplate.
I made a fixed fall plate, home made drain pipes and front step.
A new group of firemen recruit's practicing their formation stoking. Whilst they are awaiting painting. I cut off the base, drill the foot and glue some brass wire in the foot. I's not painful, I don't feel a thing...
This is one of my black J94's which is having a Lambson Cab fitted, So while it's waiting I thought a little color to the boiler face was called for?
My last J94 gets it's nameplate.
'Vulcan' pays a visit sporting it's New brass nameplate.
I made a fixed fall plate, home made drain pipes and front step.
A new group of firemen recruit's practicing their formation stoking. Whilst they are awaiting painting. I cut off the base, drill the foot and glue some brass wire in the foot. I's not painful, I don't feel a thing...
This is one of my black J94's which is having a Lambson Cab fitted, So while it's waiting I thought a little color to the boiler face was called for?
Tuesday, 8 April 2014
Wagon Roundup
Over the past 10 years or so I have picked up a few wagons, So I thought I would bring some out of storage boxes and have a look at what could be done to improve the appearance as my weathering skills I think have improved since I started. This blog is looking at how they are now, Then at a later time I can see if any need to be updated.
A thing about brake vans
I had a grey one of these but turned it into a mess van for the breakdown crane
I got this dance hall cheap so I thought I would mess it up a bit.
Two old kit build ones...
I do like these Bogie Bolsters
And these...
Must have some tankers.
This really does need some more weathering...Watch this space.
No plank, One plank, Three plank..
This is a Cambrian Shunters Truck Kit.
A pair of old Airfix Lownac's I picked up some years ago..Plastic wheels (yuck) as the small wheels are like rocking horse manure to get hold off.
Three fruit vans...I like a bit of fruit...
These venelated vans were accidental weathering but it turned out different?
50ft parcel..I picked this up for £12 years ago, I shudder to think what it would cost today...
One time I had a thing about cattle trucks...
I think it got a bit out of hand?
Now a few Private Owner wagons, A little closer to home...I mad my own loads (real Yorkshire Coal 'Tha Naws')
A few empties.
Feel free to leave comments about my weathering, As the saying goes 'Every littlehelps'
A thing about brake vans
I had a grey one of these but turned it into a mess van for the breakdown crane
I got this dance hall cheap so I thought I would mess it up a bit.
Two old kit build ones...
I do like these Bogie Bolsters
And these...
Must have some tankers.
This really does need some more weathering...Watch this space.
No plank, One plank, Three plank..
This is a Cambrian Shunters Truck Kit.
A pair of old Airfix Lownac's I picked up some years ago..Plastic wheels (yuck) as the small wheels are like rocking horse manure to get hold off.
Three fruit vans...I like a bit of fruit...
These venelated vans were accidental weathering but it turned out different?
50ft parcel..I picked this up for £12 years ago, I shudder to think what it would cost today...
One time I had a thing about cattle trucks...
I think it got a bit out of hand?
Now a few Private Owner wagons, A little closer to home...I mad my own loads (real Yorkshire Coal 'Tha Naws')
A few empties.
Feel free to leave comments about my weathering, As the saying goes 'Every littlehelps'
Saturday, 29 March 2014
Palbrick Update
Well the transfers are a bit fiddly to say the least.
They look better at a distance on the layout.
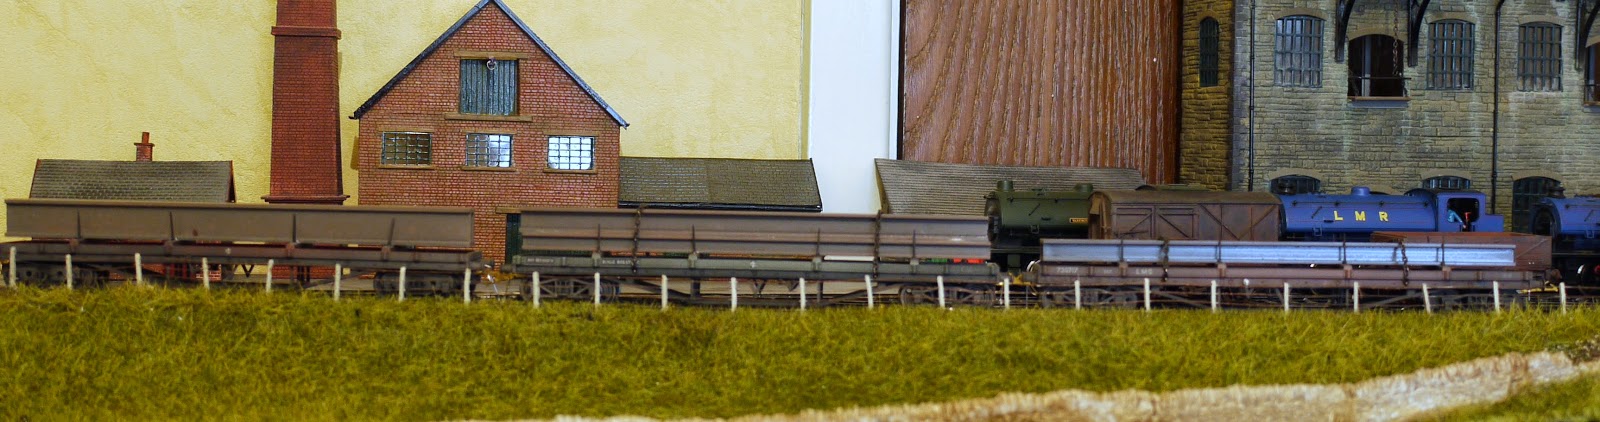
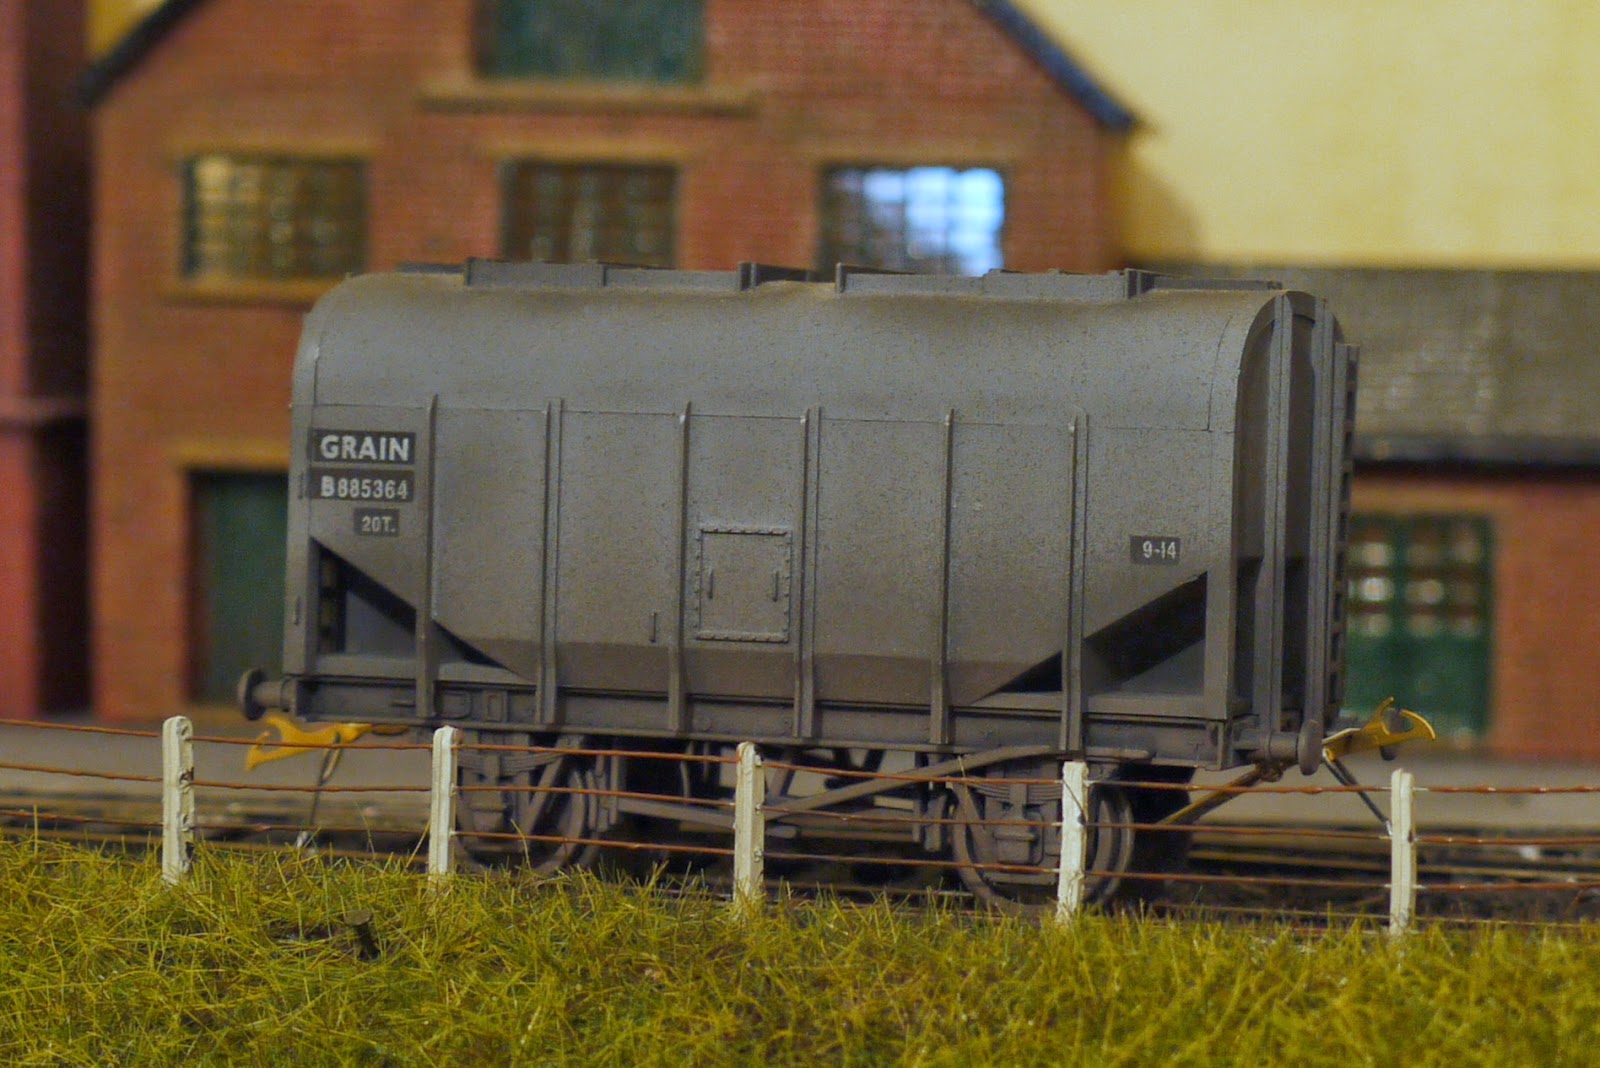
And now a look at some of my kit built wagons, Mainly Parkside Dundas
The Long wheelbase CCT wagons I put a compensating axle on one end.
I know it's Great Western but it is a nice wagon.
I must admit, This is one I really like. I have a sheet of lead flashing as a load for this..
Another favorite, I lost the weight transfers, I will sort some out...I will also have to replace the tie bars with brass as the plastic ones bend after a while.
Tuesday, 18 March 2014
Palbrick Update
Palbrick No.2 , Yes I know I have not put the brake lever on yet. I think I was too eager to see what the camera saw.
I have heard it said that your first scratch built wagon should be some thing simple. I think I missed that one?
Just a little more to do then some light waethering...Me thinks
The last one is just one for the album or is it just to show off my Longmoor Railway loco's?
I have heard it said that your first scratch built wagon should be some thing simple. I think I missed that one?
Just a little more to do then some light waethering...Me thinks
The last one is just one for the album or is it just to show off my Longmoor Railway loco's?
Subscribe to:
Posts (Atom)